Installing an outdoor shower requires proper planning for plumbing, drainage, and weather exposure. Incorrect installation can lead to leaks, freeze damage, drainage issues, and code violations.
This guide explains how to install an outdoor shower step by step, covering location planning, water supply connections, drainage setup, fixture installation, and weatherproofing for long-term outdoor use.
Step 1: Choose the Outdoor Shower Location
Location selection determines plumbing complexity, drainage performance, and privacy.
Key factors to consider:
- Proximity to existing hot and cold water lines
- Ability to drain water away from the foundation
- Privacy from neighboring properties
- Exposure to wind and seasonal weather
Installing closer to the house typically reduces plumbing work but increases the need for proper sealing.
Step 2: Plan Water Supply and Shutoff Valves
Outdoor showers must be supplied with potable water and protected against freezing.
Water supply options:
- Cold-water-only supply for seasonal use
- Hot and cold water lines tapped from interior plumbing
- Dedicated exterior supply lines
Freeze protection requirements:
- Interior shutoff valves
- Drain-down capability for winterization
- Frost-proof or freeze-resistant valves
In cold climates, improper freeze protection can result in burst pipes.
Step 3: Install Drainage
Proper drainage prevents standing water, erosion, and structural damage.
Common drainage solutions:
- Gravel dry well beneath the shower base
- French drain routed away from the structure
- Connection to approved drainage systems where permitted
Local codes may regulate gray water disposal. Always verify drainage requirements before installation.
Step 4: Run Plumbing Lines
- Shut off the main water supply
- Run hot and cold water lines to the shower location
- Secure piping with proper supports
- Pressure-test all connections
All piping used outdoors must be rated for exterior and temperature exposure.
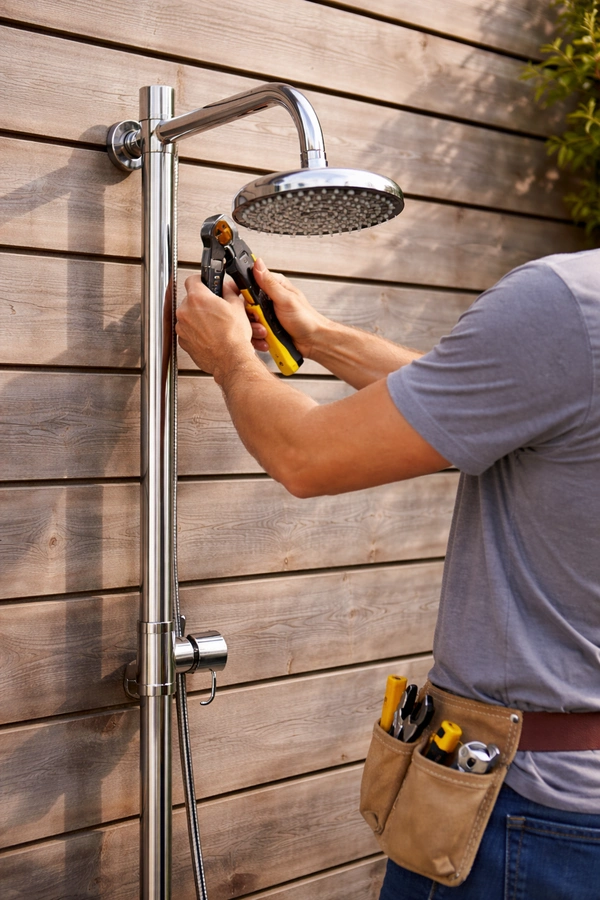
Step 5: Mount the Outdoor Shower Fixture
- Install the mixing valve and control hardware
- Mount the shower riser and head at appropriate height
- Anchor fixtures to solid backing or framing
- Seal all wall and surface penetrations
Improper mounting or sealing often causes hidden leaks behind siding or walls.
Step 6: Weatherproof and Finish
- Seal all penetrations with exterior-grade sealant
- Use corrosion-resistant fixtures and fasteners
- Install water-resistant wall materials if enclosed
- Ensure surfaces slope to promote drainage
Outdoor materials must withstand moisture, UV exposure, and temperature fluctuations.
Step 7: Test and Commission
- Turn on the water supply and inspect for leaks
- Test hot and cold mixing functionality
- Verify proper drainage during operation
- Shut off and drain the system if seasonal use is planned
Final testing ensures safe operation before regular use.
When to Hire a Professional
- Hot water extensions inside finished walls
- Drainage tied into existing plumbing systems
- Installations in freezing climates
- Permit or inspection requirements
Hiring a professional reduces the risk of leaks, code violations, and long-term damage.